Working with Data Hierarchy (Drilldown)
The drilldown works to display the hierarchical relations between the dimensions. To add a drilldown one should go to the ‘Edit Data-set’ option of the Ideal-Analytics context menu. There the ‘Drill Down’ icon or ![]() is available. After clicking on it the following pop up will be opened.
is available. After clicking on it the following pop up will be opened.

Here, one can define a drilldown like the above one i.e. ‘Issue Type wise details’. The name of a drilldown has to give in the ‘Name’ field. The ‘Drilldown Order’ table will carry the ordered columns. To import columns into that table, the left table named ‘Available Columns’ has been given. The right side of the pop up displays a list where the already created drilldowns are available. The drilldowns can also be deleted by the delete icon in that list. The ‘Set As Default’ check box selects a drilldown as default drilldown. To drilldown, the user should go to the ‘Step-4’ in data-set explorer where the utility is available like the following image.
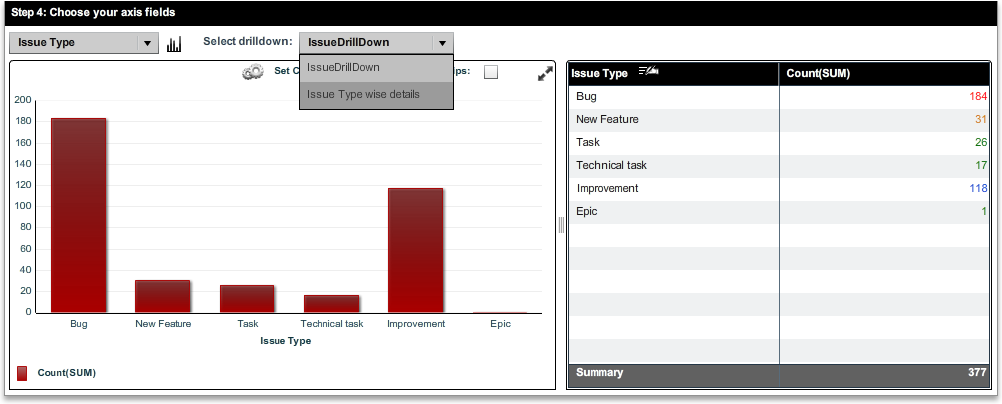
Here, the drilldowns are available through a combo box like the opened one in the above image. In the above example, there is only one Drilldown which is available is ‘Issue Type wise details’ which defines Issue Type => Status => Affects Version/s => Created On => Resolved On drilldown. After selecting the ‘State’ dimension, the user should double click on the chart to go to the second level of it where the dimension is ‘Educational Level’. It means, the Educational Level on the state, which became selected at the time of double clicking on the graph. Again doing same procedure the 3rd level of the drilldown will be available. To drill-up or go back to the previous stage, the user should click on the ![]() icon in the chart which becomes available after going through drilldown.
icon in the chart which becomes available after going through drilldown.
Created with the Personal Edition of HelpNDoc: Single source CHM, PDF, DOC and HTML Help creation